Best Paratrooper Template 2026
Article · Paratrooper template
Best paratrooper template in Hearts of Iron IV
Two ready Paratroopers templates: what to build in the Division Designer, how they differ, and which to take if you just started.
Which template you need
First
Lots of small divisions
Works for any country. You drop a swarm, sit on railways, and wait for the main army to walk in. If the enemy attacks right away, this division is almost certainly dead. That is fine: 2,000 manpower and 260 Infantry Equipment is a cheap loss.
Second
A bit tougher, to hold a tile
When you cannot give the tile up at once: a Supply Hub, a port, or a capital. Engineers and Heavy Weapons Companies add a little Defense; Airborne Light Armor puts armor on the whole division. The cap only fits 4 of these. A few enemy divisions will still kick you off.
How to choose. Unsure? Take the first one, two battalions. Ten tiles in the enemy rear usually do more than one stronger division that regular infantry still wipes. The second template is worth it once you can time the main army and you are ready to research the Special Forces doctrine and build Light Tanks.
What to put in the designer
Two templates. A paradrop needs Transport planes, the Paratroopers I technology, and enough Air Superiority in the region (70%) — otherwise you cannot even issue the Paratroop Order. Do not put Artillery in line battalions or support: it cannot drop. That is why these divisions attack poorly. They exist to grab tiles, not to punch a front. More divisions means more tiles.
Paratroopers, Combat Width 4
- Cheap
- Mass
- Any country
This is the template I run most. Not because it fights well — it fights badly. Two Paratroopers battalions, no Support Companies. Combat Width 4. The Special Forces cap starts at 24 battalions, so you can field 12 of these. Twelve occupied railway tiles hurt the enemy more than one fat paratrooper division sitting in open country.
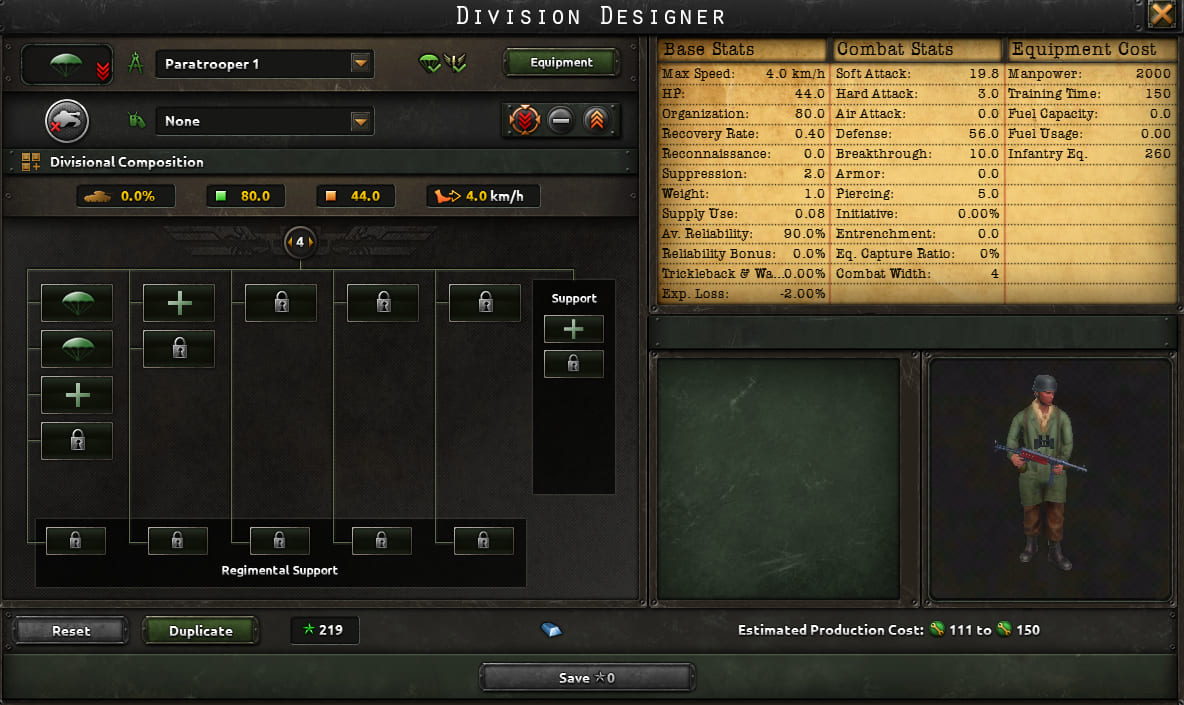
 2× Paratroopers
One Paratroopers battalion is Combat Width 4, 1,000 manpower and 130 Infantry Equipment. Two battalions: 2,000 men and 260 rifles. Skip Support Companies — each one spends men and gear, and this template is about staying cheap. You want as many divisions as possible so you can sit on as many tiles as possible.
In combat this division almost always loses. If the enemy walks infantry onto you, you get pushed and often wiped: there is nowhere to retreat, you are already behind their line. The loss is small; you can rebuild it. The drop works when you took the tile and the main army got there. If the army is late, the divisions just die.
If they die, it still hurts less than losing expensive ones. These divisions are meant to be expendable: grab as many tiles as you can.
| Resource | Per division |
|---|---|
| Manpower | 2000 |
| Infantry Equipment | 260 |
| Combat Width | 2 |
| Special Forces battalions | 2 |
| Divisions from the base cap | 12 |
Total for all divisions
Total from the table above, for the number of divisions of this template you pick.
- Manpower
- 24,000
- Infantry Equipment
- 3,120
Pros
- Very cheap: 2,000 manpower and 260 Infantry Equipment.
- Any country can field 12 of these from the base Special Forces cap.
- More divisions means more tiles taken and more supply cut.
Cons
- Barely holds in combat.
- Most fights end with the division destroyed.
- Will not hold the tile if the enemy attacks at once.
Verdict. Start here. Drop where the main army will arrive soon. If you throw the drop first and only then wonder how to save it, you will lose all 12 divisions.
How to use it
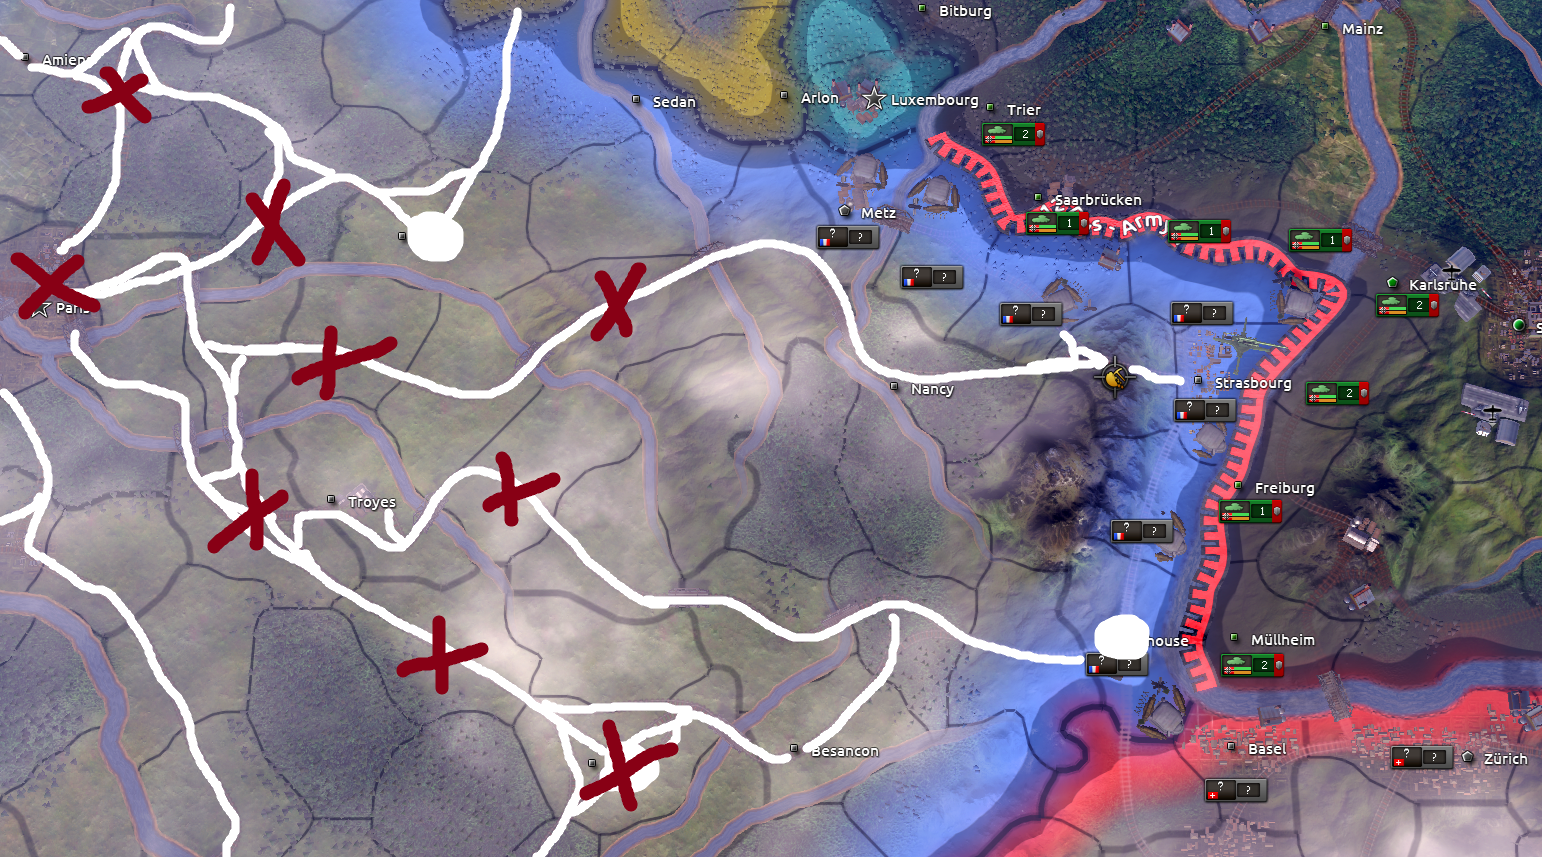
These divisions are cheap and you have many of them — drop them deep in the rear, not on the front line. The point is not to win a fight. It is to take useful tiles: railways, ports, capitals, air bases. The farther from the front and the more important the tile, the longer the enemy sits without supply, and the more troops they have to peel off the line to dig you out.
Do not land next to packed enemy infantry: they delete you and you get nothing. Draw troops away, take a capital if you can, then wait or hop neighbouring tiles until the main army arrives.
Paratroopers, Combat Width 12
- Hold a tile
- For a major
Tougher than the first, still not a wall. Six Special Forces battalions — from the same cap you usually get 4 divisions. Combat Width 12: on a short front you rarely eat the over-width penalty. Job: take an important tile and keep it until the main army breaks through. A few enemy divisions will still push you off: few men, no Artillery.
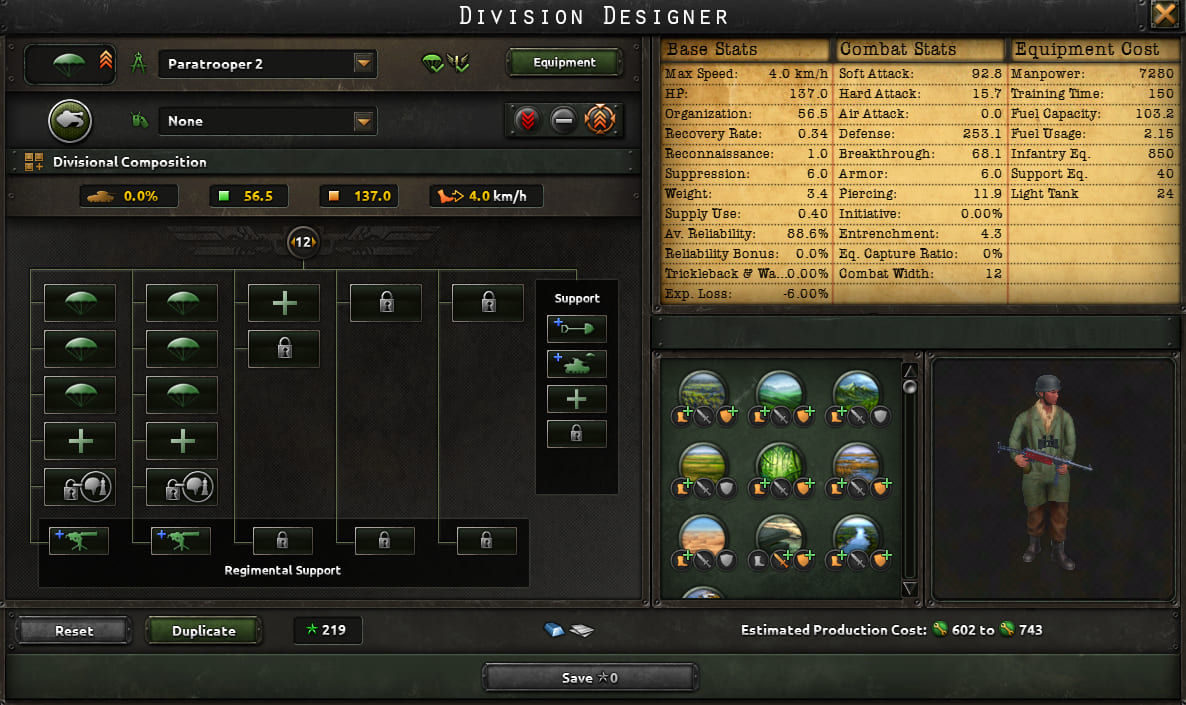 6× Paratroopers
 2× Heavy Weapons Company
 Engineer Company
 Airborne Light Armor
Heavy Weapons Company is not a heavy tank. In the game it is machine guns and light mortars. You can paradrop it; you cannot paradrop regular Artillery. Two of these in the regiments plus Engineers help Defense a bit. Airborne Light Armor gives recon and armor to the whole division. In the Tank Designer, push armor on the light tank: the whole division lives longer, not just the support battalion.
Airborne Light Armor needs the Special Forces doctrine and a Paratroopers subdoctrine. In the game those are Sabotage Parties and Concentrated Drops — both unlock the same company. You can switch the subdoctrine later; the game does not take the company away. Playing a small country, short on Army Experience, or you just do not want the hassle — leave the tanks off. The template still works, it just has less armor.
One division wants 7,280 manpower, 850 Infantry Equipment, 40 Support Equipment and 24 Light Tanks. Supply is about as hungry as regular infantry, still manageable. If the division is encircled and there is no corridor from your army, it still starves. This template costs almost four times the manpower of the first and only gives you 4 divisions instead of 12 — fewer tiles.
| Resource | Per division |
|---|---|
| Manpower | 7280 |
| Infantry Equipment | 850 |
| Support Equipment | 40 |
| Light Tanks | 24 |
| Combat Width | 12 |
| Special Forces battalions | 6 |
| Divisions from the base cap | 4 |
Total for all divisions
Total from the table above, for the number of divisions of this template you pick.
- Manpower
- 29,120
- Infantry Equipment
- 3,400
- Support Equipment
- 160
- Light Tanks
- 96
Pros
- Few Special Forces battalions per division: 4 of these fit the base cap.
- Armor, if you add Airborne Light Armor.
- Can hold a tile for days, not hours.
Cons
- Airborne Light Armor needs a Paratroopers subdoctrine.
- You need military factories on Light Tanks.
- Will not last a week against a serious enemy: few men, no Artillery.
Verdict. Take this when the tile really matters and the main army is a few days out. It is not a stand-in for regular infantry. If the army will be a week late, you are better with the first template and more railways cut: starving the enemy does more than one tougher division sitting alone.
How to use it
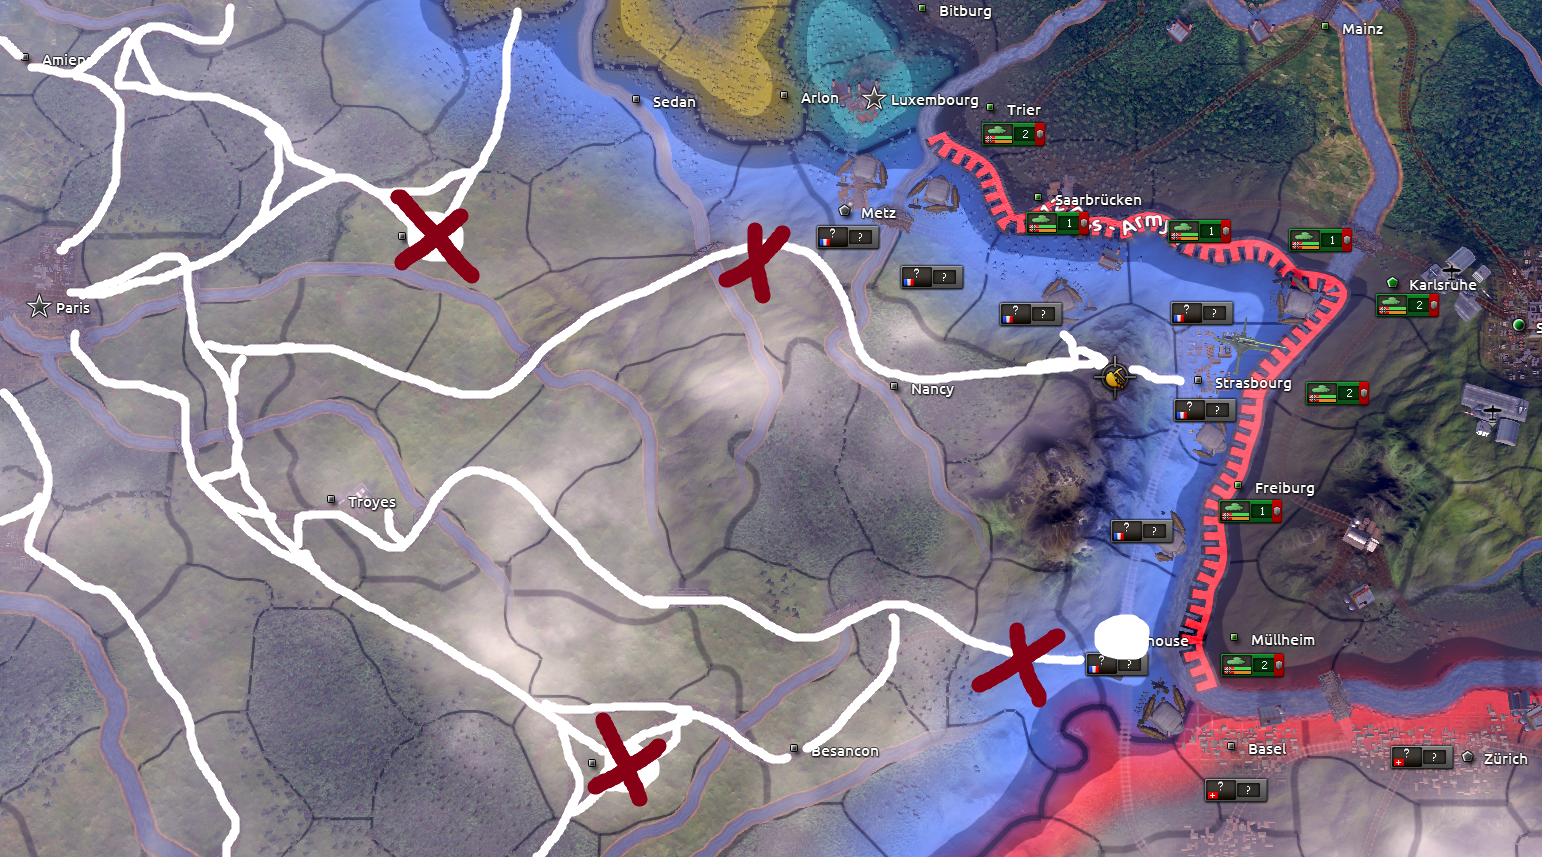
Do not throw this deep into the rear. It costs more, you only have a handful — no point scattering them across the map. Drop them closer to the front, on a tile that feeds the enemy line. A common pick is a Supply Hub (that is the in-game name), which pushes supply to troops you cannot break. Take the hub, the line starts starving, and your army is close enough to punch through in a few days.
Drop this in the deep rear and it still dies before your tanks get there. Near the front, on an important hub — that is its job.
Which of the two to take
Do not pick by which template looks stronger in the Division Designer. The second always fights harder. Ask how many tiles you will take, and whether the main army arrives while the drop is still alive. I take the first more often: 12 divisions on railways wreck enemy supply worse than 4 tougher paratrooper divisions that regular infantry still clears sooner or later.
| Stat | Lots of divisions | To hold a tile |
|---|---|---|
| In the regiments | 2 Paratroopers battalions | 6 Paratroopers battalions + two Heavy Weapons Companies |
| Support Companies | None | Engineer Company, Airborne Light Armor |
| Combat Width | 2 | 12 |
| Special Forces battalions | 2 | 6 |
| Divisions in the base cap | 12 | 4 |
| Manpower | 2000 | 7280 |
| Infantry Equipment | 260 | 850 |
| Light Tanks | None | 24 |
| When to take it | You want many tiles | You need to hold one important tile |
Right after the drop, do not expect the division to fight like regular infantry. If it is encircled (enemy on every side — a pocket), Defense drops 30%. For the first 48 hours after a paradrop, combat is another 30% worse — that is how drops work, not a bad template. So the first template is not supposed to win fights. It is supposed to sit on a railway while the enemy goes without supply. The second shrugs those penalties off a little better. It does not cancel them.
After you land, do not camp: keep taking ground and pull enemy troops toward you.
Bottom line
Paratroopers are for landing in the rear, not for attacking the front. Two battalions and no Support Companies is the default: 12 divisions, cheap, lots of tiles. Six battalions, Engineers, two Heavy Weapons Companies and Airborne Light Armor — if one important tile has to last a couple of days. No Artillery in either template: you cannot paradrop it. A good drop is the one that hurts enemy infrastructure most: railways, Supply Hubs, air bases.